HOW TO SEND MASS EMAIL IN GMAIL.

Sending invitations, sales emails, talking with students, coworkers, or anything else with numerous recipients is a wonderful reason to use a mail merge. It all depends on the subject matter of the email (could that meeting have been an email?).
Using a Google Workspace account or a regular Gmail account doesn’t matter as long as you know how to send a mail merge in Gmail. Gmail and YAMM work flawlessly together.
Step 1: Open Google Sheets and install the Yet Another Mail Merge Extension.
The simplest step is this one. To install the Yet Another Mail Merge Google Sheets addon, click this link.
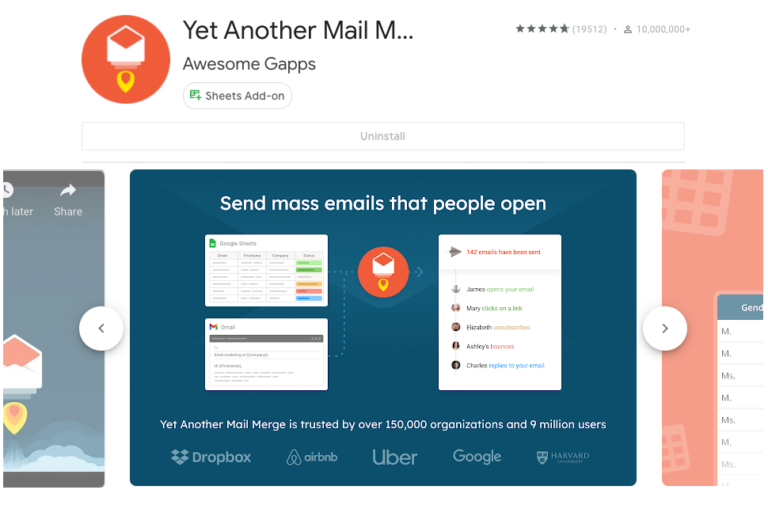
Install Yet Another Mail Merge on the Google Workspace Marketplace
Step 2: Open Gmail and draft your personalized email
The first step in creating a fantastic bulk email is composing the message in Gmail. Ultimately, you can’t personalize something you don’t understand about writing.
Open Gmail and draft your message, but do not send it. Consider how you want the email to be customized with each recipient’s name and other details. Try to underline or bold these. Variable names like {{name}} will eventually take their place. Correct the formatting, then save your draft email.
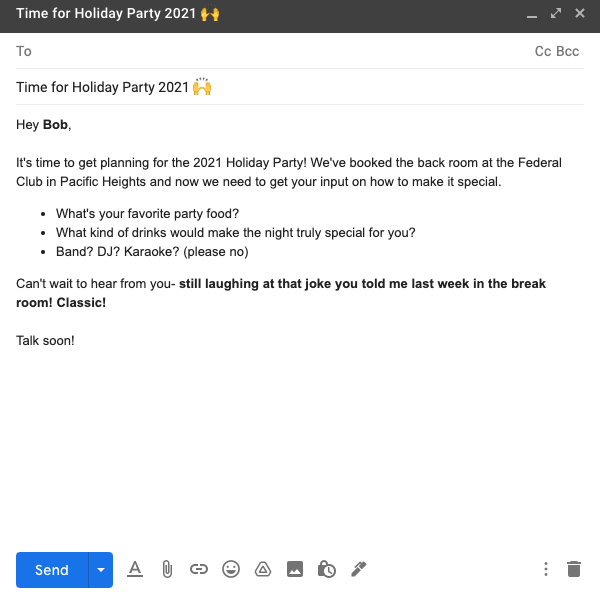
Draft your email in Gmail and bold each variable you’ll personalize
Step 3: Create a Google Sheets contact list.
Our contacts must be entered into a Google Sheet. Simply follow the example or go through the instructions below if you’re a quick learner.
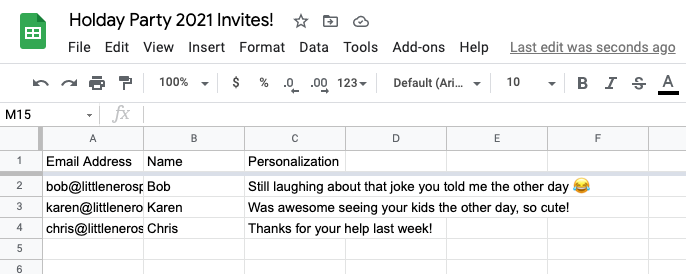
Organize your contacts email address and personal information in Google Sheets
Create a Google Sheet by opening Google Drive or Google Docs. Alternatively, you can merely type sheets or open the sheet where you keep your contacts. Google will instantly launch a fresh sheet for you to perform your magic on when you type something new into the URL bar.
For each of your many receivers, add a row. Recall how I encouraged you to consider customizing each email for a specific recipient? It’s time now to truly complete that.
For every customized variable field you plan to use, add a column and fill it in for every contact.
The email should appear in the first column, with customization fields utilized in each consecutive column. Names of columns matter. As you’ll need them in the next phase, use names that aren’t too complicated. When “name” will enough, don’t use “first_name”; precision is crucial. The name must be simple to recall and type accurately.
Step 4: Utilize the information in your Google Sheet to customize your Gmail Template.
Okay, it’s time to return to Gmail and link our email template to Google Sheets. We’ll utilize a merge field in each of those columns to add personalization to the email.
The column names from your sheet enclosed in double curly brackets should be used to replace the content you wish to personalize in your email.
Replace “Hello Bob” at the beginning of your email with
“Hello {{Name}}.”
Now that the personalization fields have been updated, this is how our previous email appears.
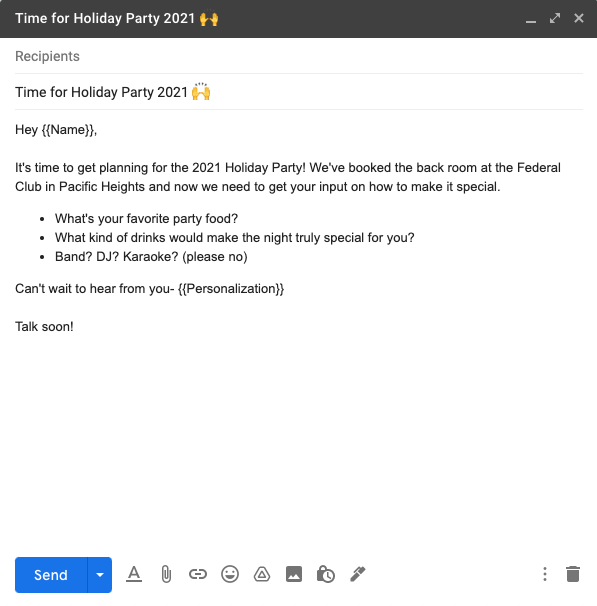
Replace any portions of your email that need to be changed with the names of the corresponding columns from your sheet that are enclosed in double curly braces.
Step 5: Use Gmail to send mail merge emails to several recipients!
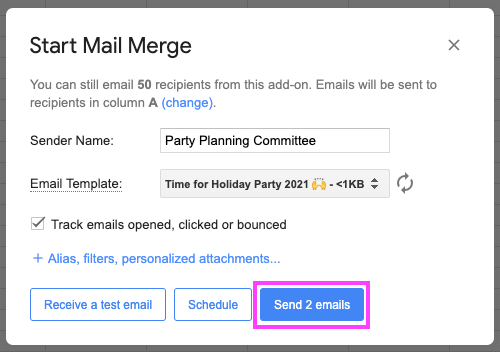
Now for the enjoyable part. Go to the add-ons menu, open YAMM, and select “Start Mail Merge.”

Navigate to add-ons using the primary toolbar.
Examine everything; there is no turning back now! It won’t be possible to reverse the send after you hit the send button. Select your Gmail draft and enter your sender name. To begin your mail merge, I suggest sending a test email first. Once you’re satisfied, click “Send emails.”
Follow these steps, and I am sure this will be the best holiday party email blast of all time.
